
Yes, I have to admit it, at times I do have writers block. My character in my books, Granny, otherwise known as Hermiony Vidalia Criony Fiddlestadt, occasionally backs me into a corner and I don’t know how to get out. I find when that happens turning to a different craft pulls me out and brings back my creativity. This is what happened to me this weekend. To bring my creativity back I got busy transforming a book shelf that someone gave to me FREE!
Here are the steps I used. Like it, don’t like it, whatever. I love it and it will have an established place in my home. I like quirky. That is the great thing with creativity, as long as you like what you create, it doesn’t matter if anyone else likes it unless you plan on selling it. Although, I am sure there are other quirky people out there. I present the steps to my new book shelf.
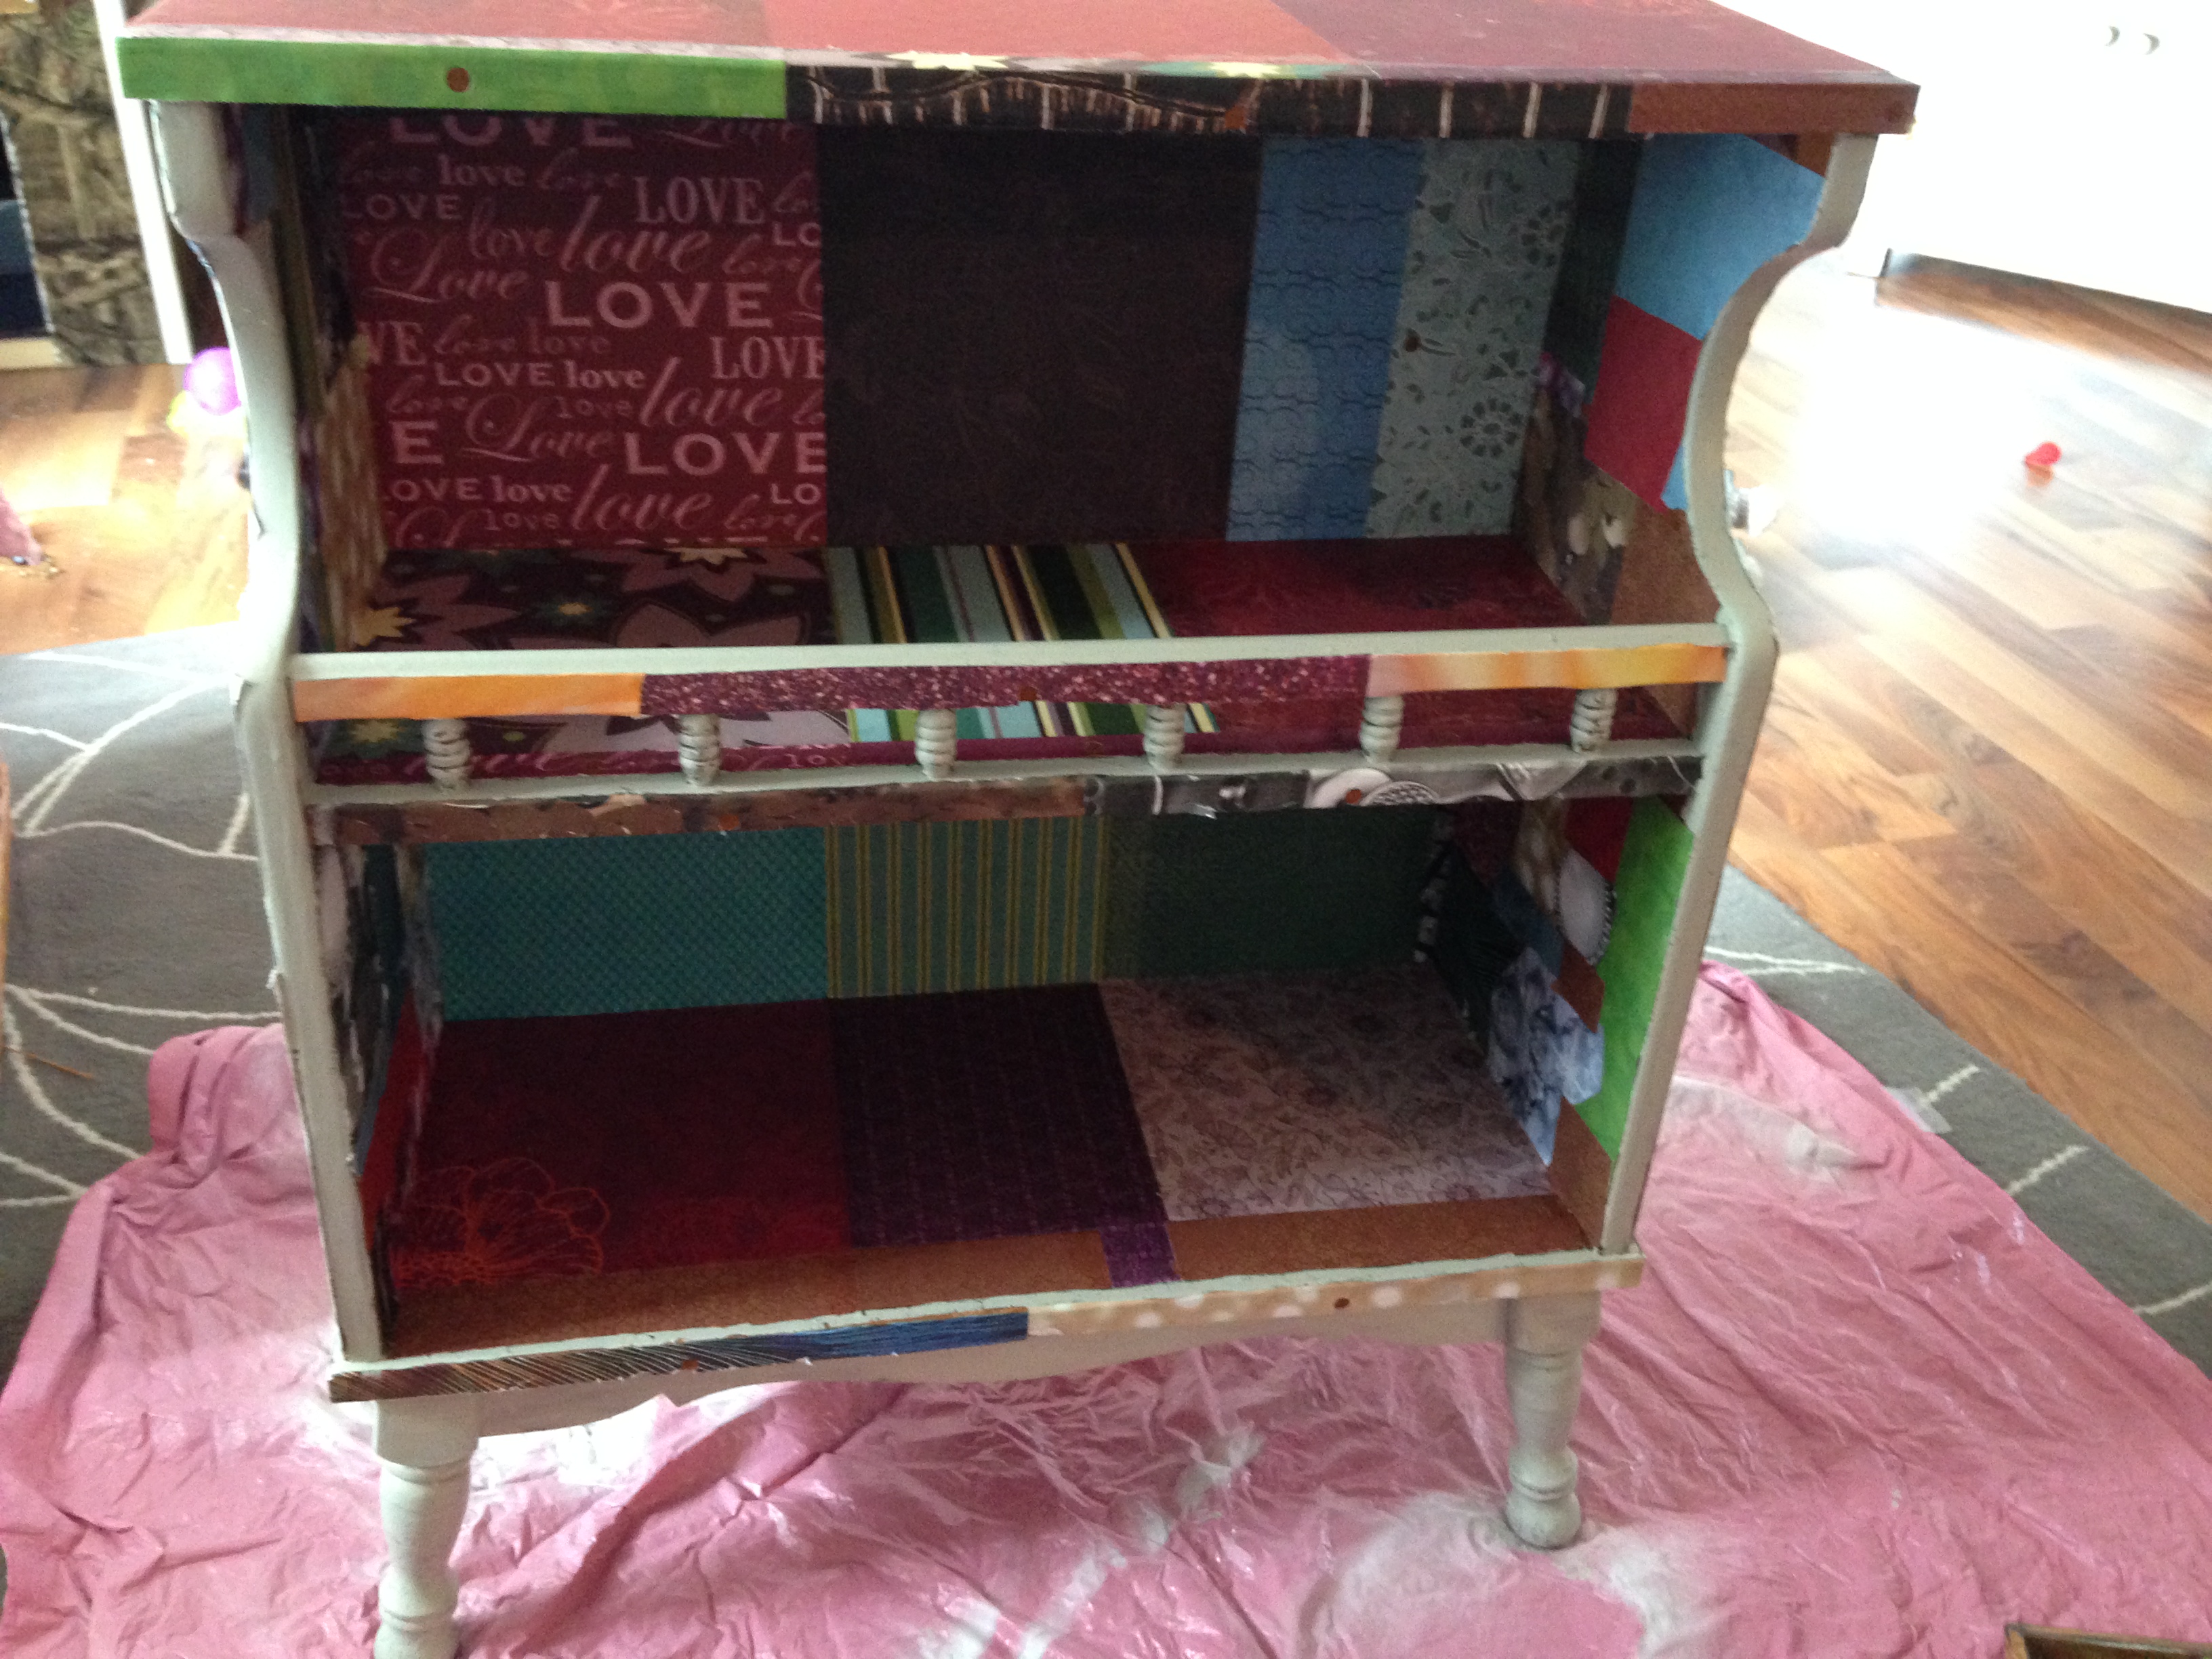
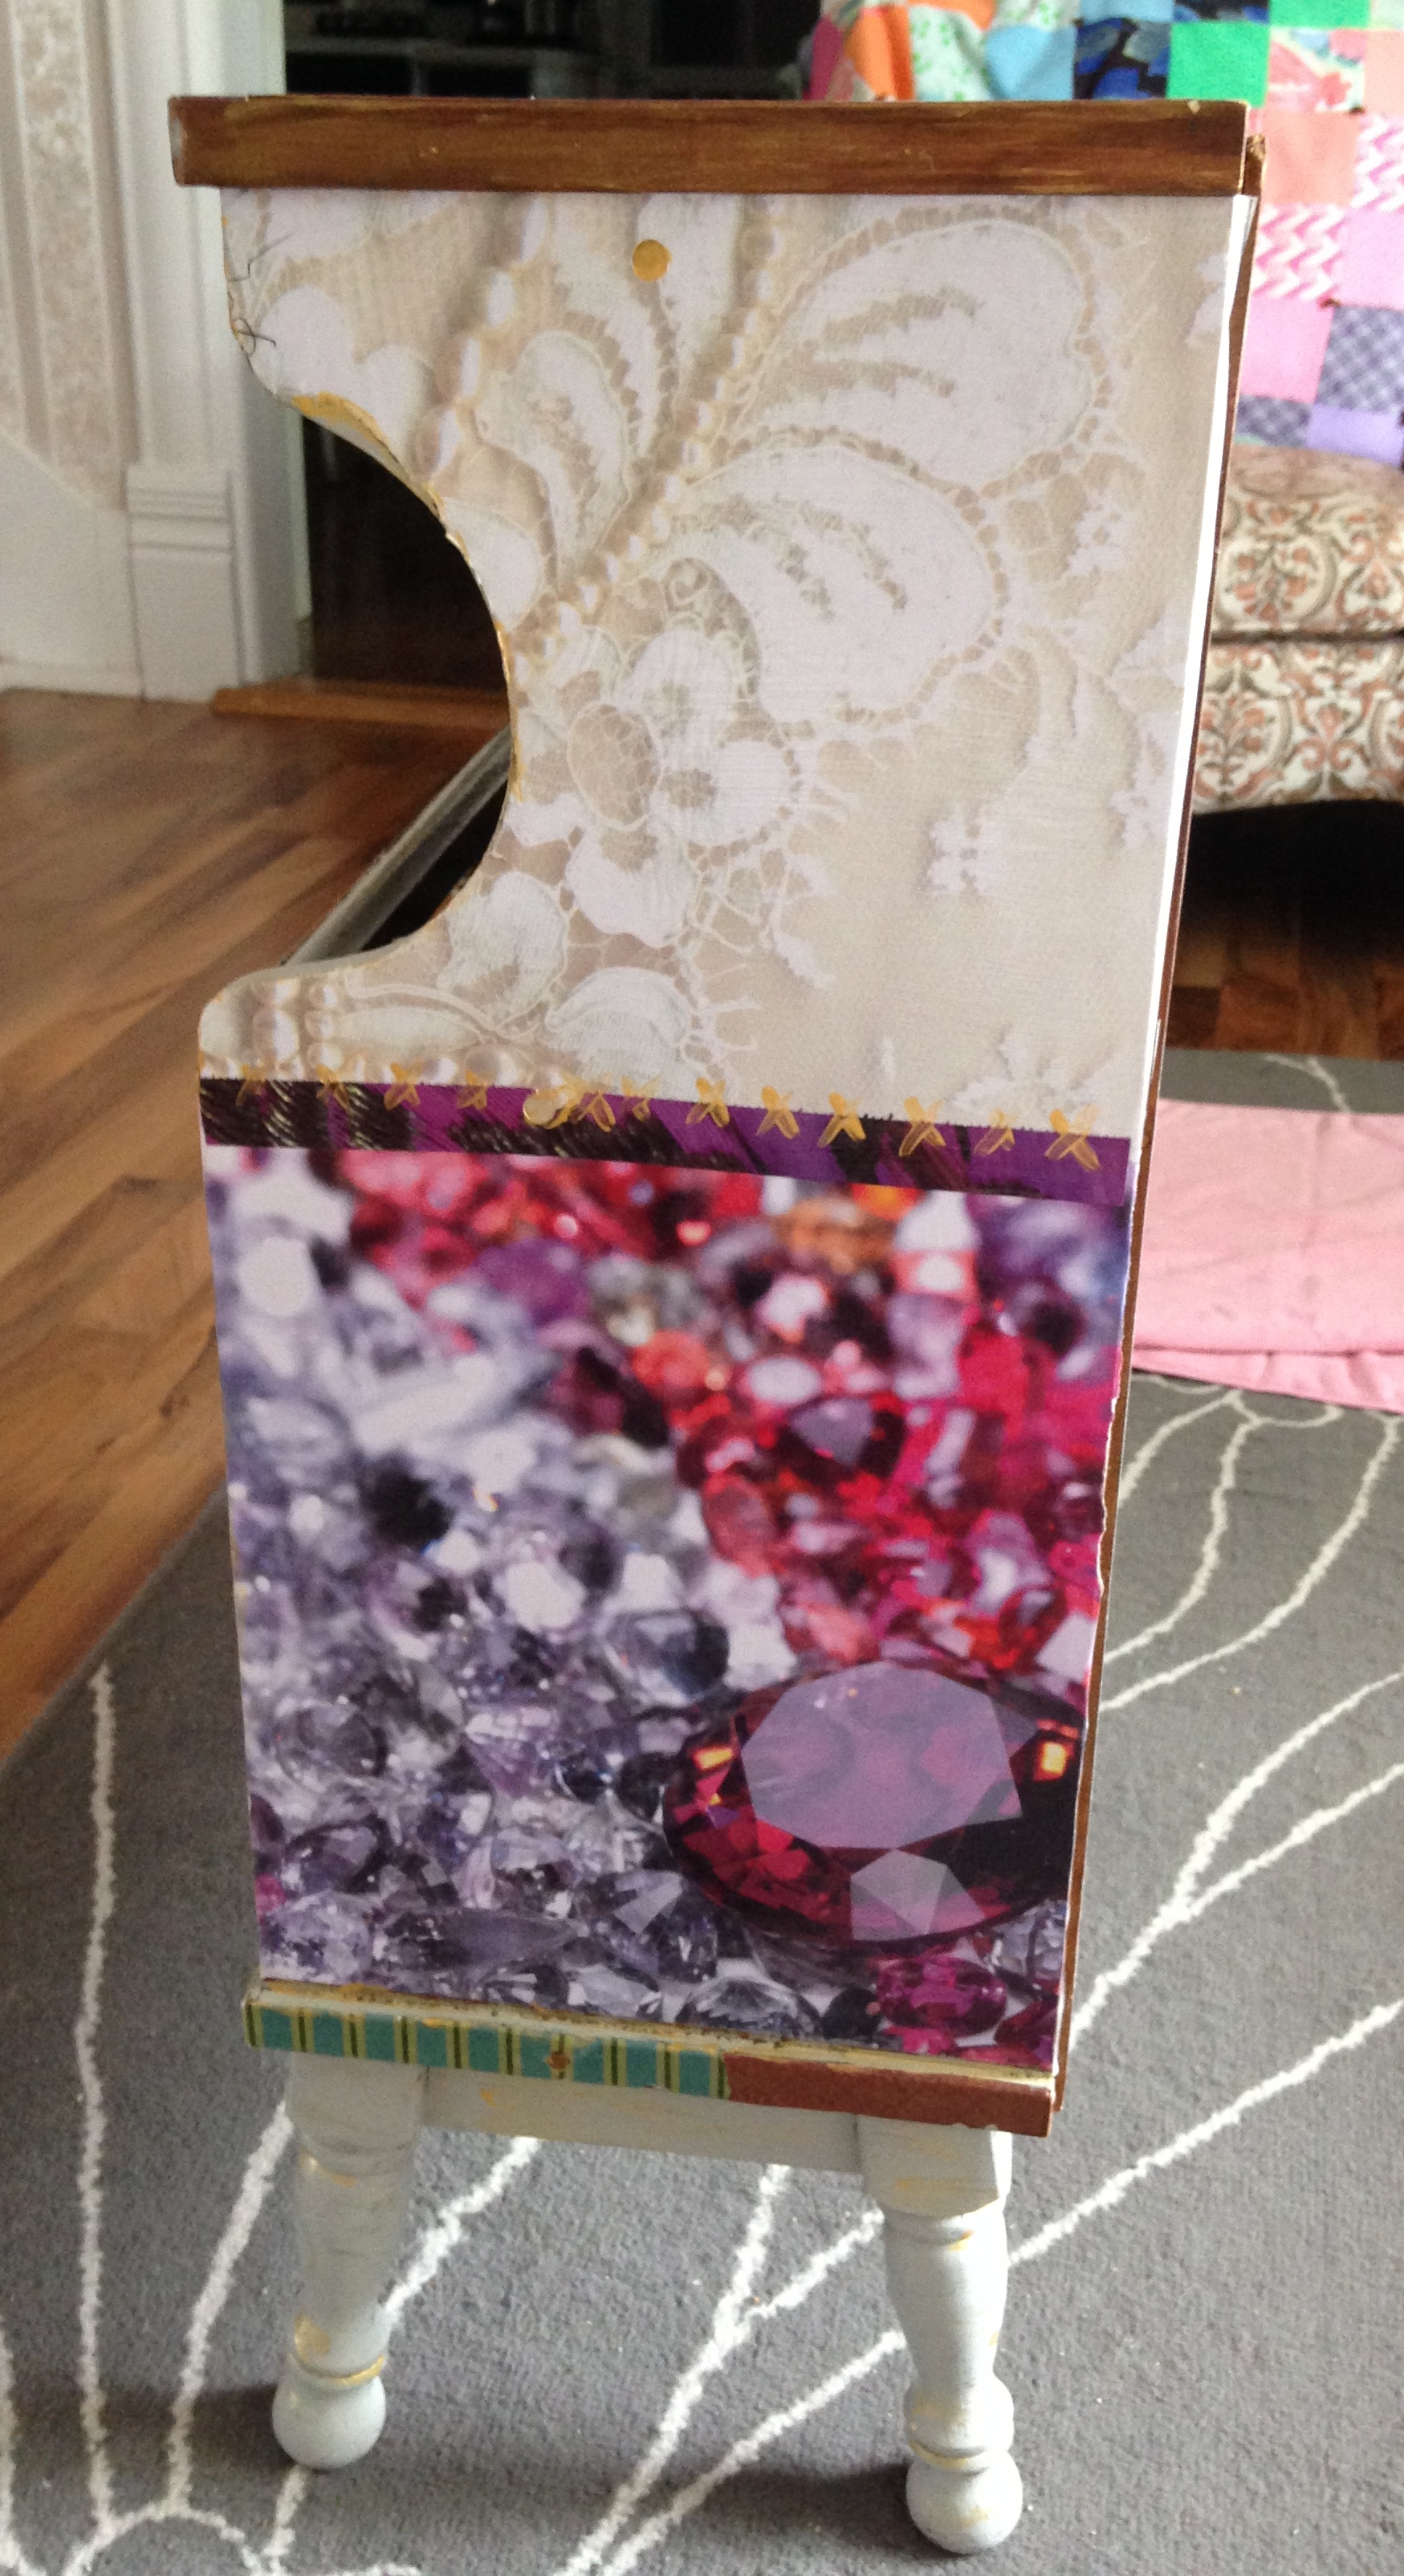
 This is the bookshelf, scratched and blah, in my opinion. The wood had a veneer that would have been more work to sand and restain. The first step that I used was decoupage. I used Mod Podge Gloss Lustre because I like gloss. Then I got out my trusty craft papers and started to glue. I chose my papers at random and decided to do somewhat of a crazy quilt with the papers. I had no rhyme or reason, just had fun with it.
Next I found some old paint, I am trying to use up things I have. The paint was a soft, light green. I painted the edges, ,the spindles and the legs. I didn’t completely cover it as I like the scuffed look. After I used the green, I used my Folkart Metallic Inca Gold paint. I love gold, and I did x’s between the squares and pieces to it look like stitching. I also scraped the corners with the gold craft paint and ran it around the spindles and legs, sparsely, to highlight them. Once the craft paper dried from being glued on with the decoupage, I put on two coats of decoupage over the papers on the entire book shelf.
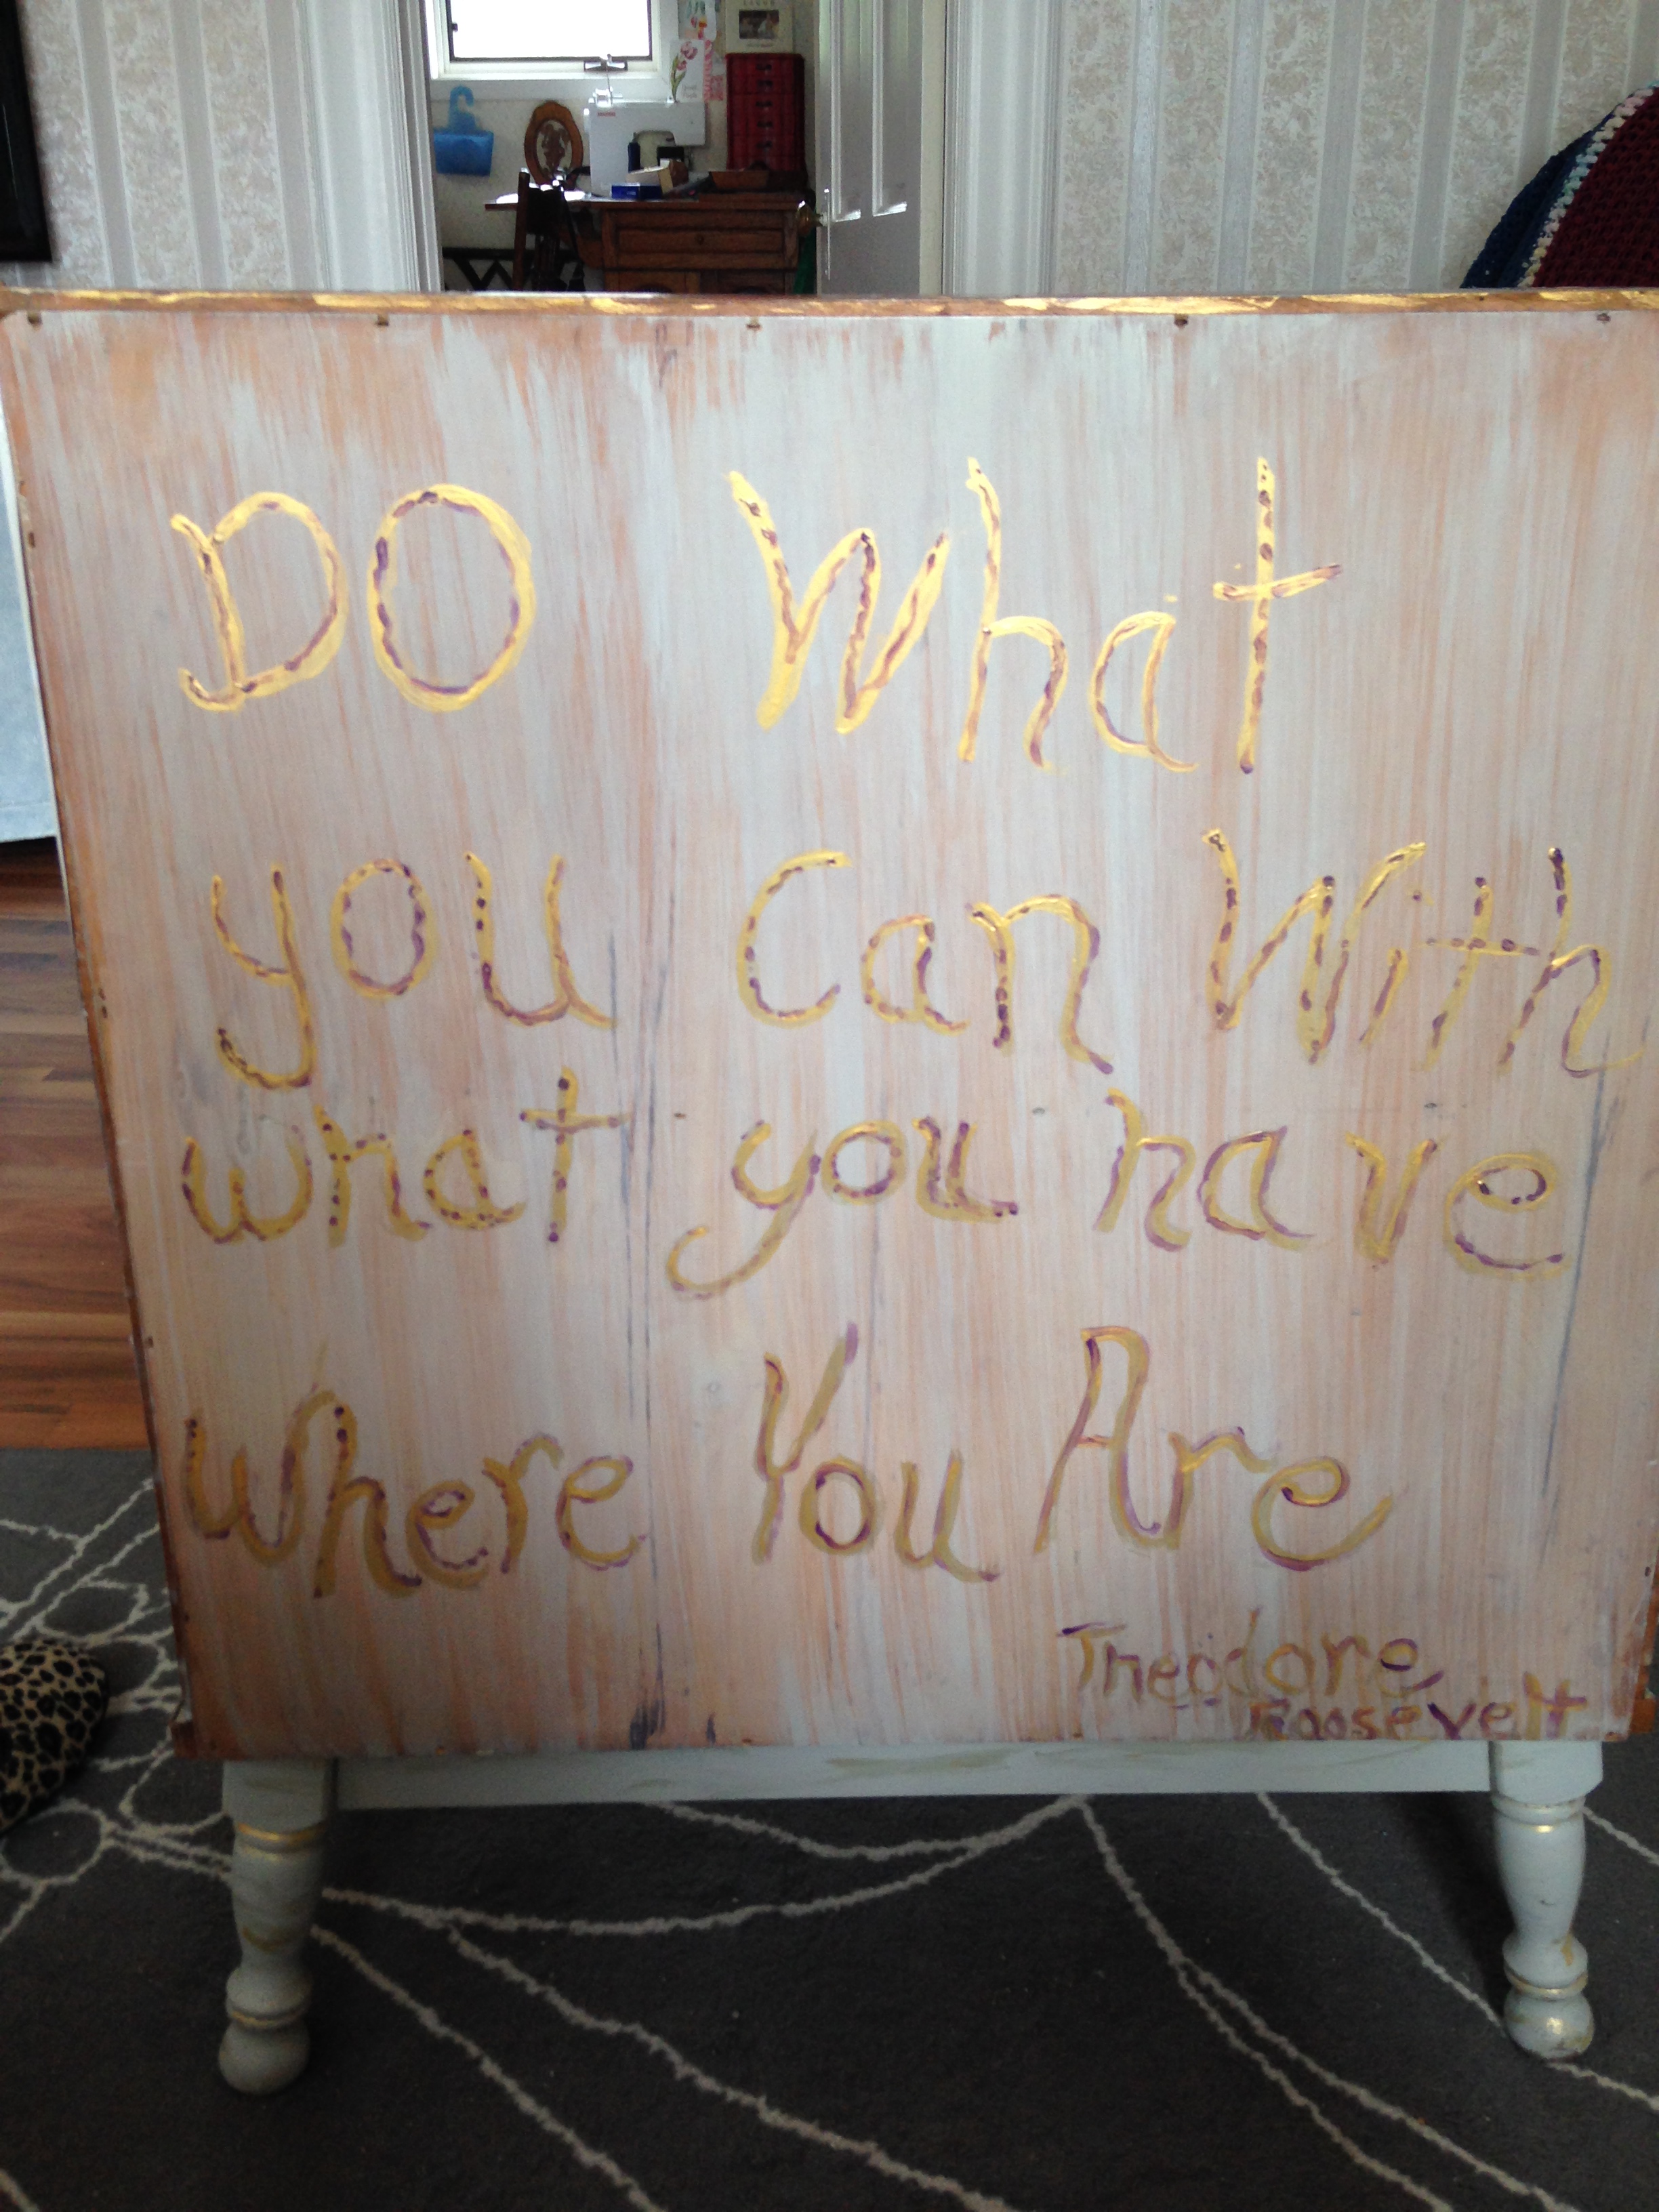
That left the back. The back was brown plywood. I took what was leftover of my light green, sample paint, that I had used on the edges and watered it down, and washed the plywood on the back. I added the saying from Theodore Roosevelt. I painted the saying in my gold, and highlighted it with purple.
I left the decoupage to dry overnight after the final coat. Between the coats, I used two coats, I left a few hours. You should know when it is drying between coats you need to check it for wrinkles, and use a roller or as I did, a soft cloth to smooth out the wrinkles. Don’t worry about it if you have some wrinkles, nothing is ever perfect and I like imperfection in my pieces. It gives them character. After it had tried, I used urethane Varnish and gave it a coat. You will now see the finished product. Remember I am an amateur and I needed to wake up my muse.


It is prettier in person. Believe me. It shines and sparkles. Now, back to Granny. She’s got her shovel ready to do some damage.

